Our Experience Passing Through Immigration in the Philippines & Tips to Avoid Being Offloaded
Truth be told, we never had any problems passing through immigration in the Philippines on most of our international travels. Which is why we were confident that we’d breeze through it on our next overseas trip.
We’ve heard of horror stories online and even from friends that some Bureau of Immigration (BI) officers ask you to show confidential documents like Transcript of Records (TOR) and proof of funds including bank statements and bank certificates. In fact, there was a previous incident involving a Filipina traveler who was asked for her yearbook.
If you fail to do so, you will be held for further questioning. Worst, you will miss your flight and end up getting offloaded like the said Filipina traveler.
Sad and outright terrifying, right?
We couldn’t imagine being in this scenario. Until recently…
Our experience passing through Immigration in the Philippines

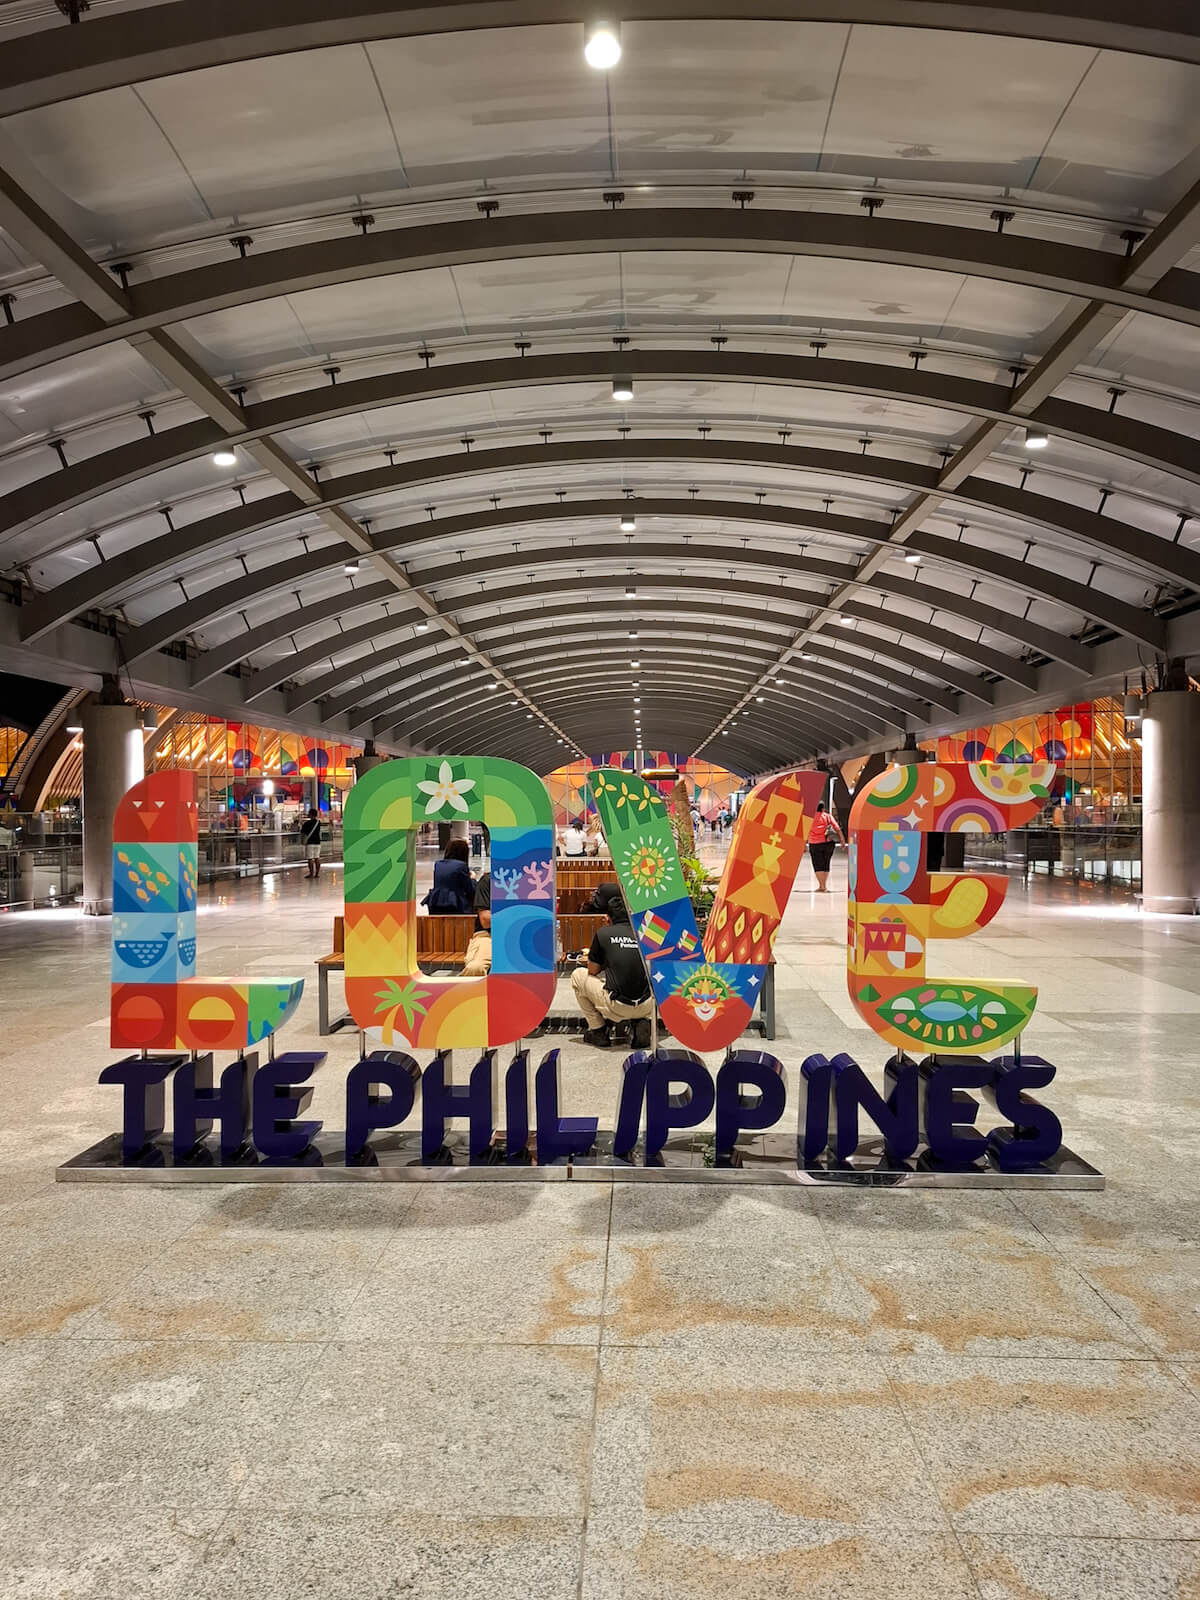
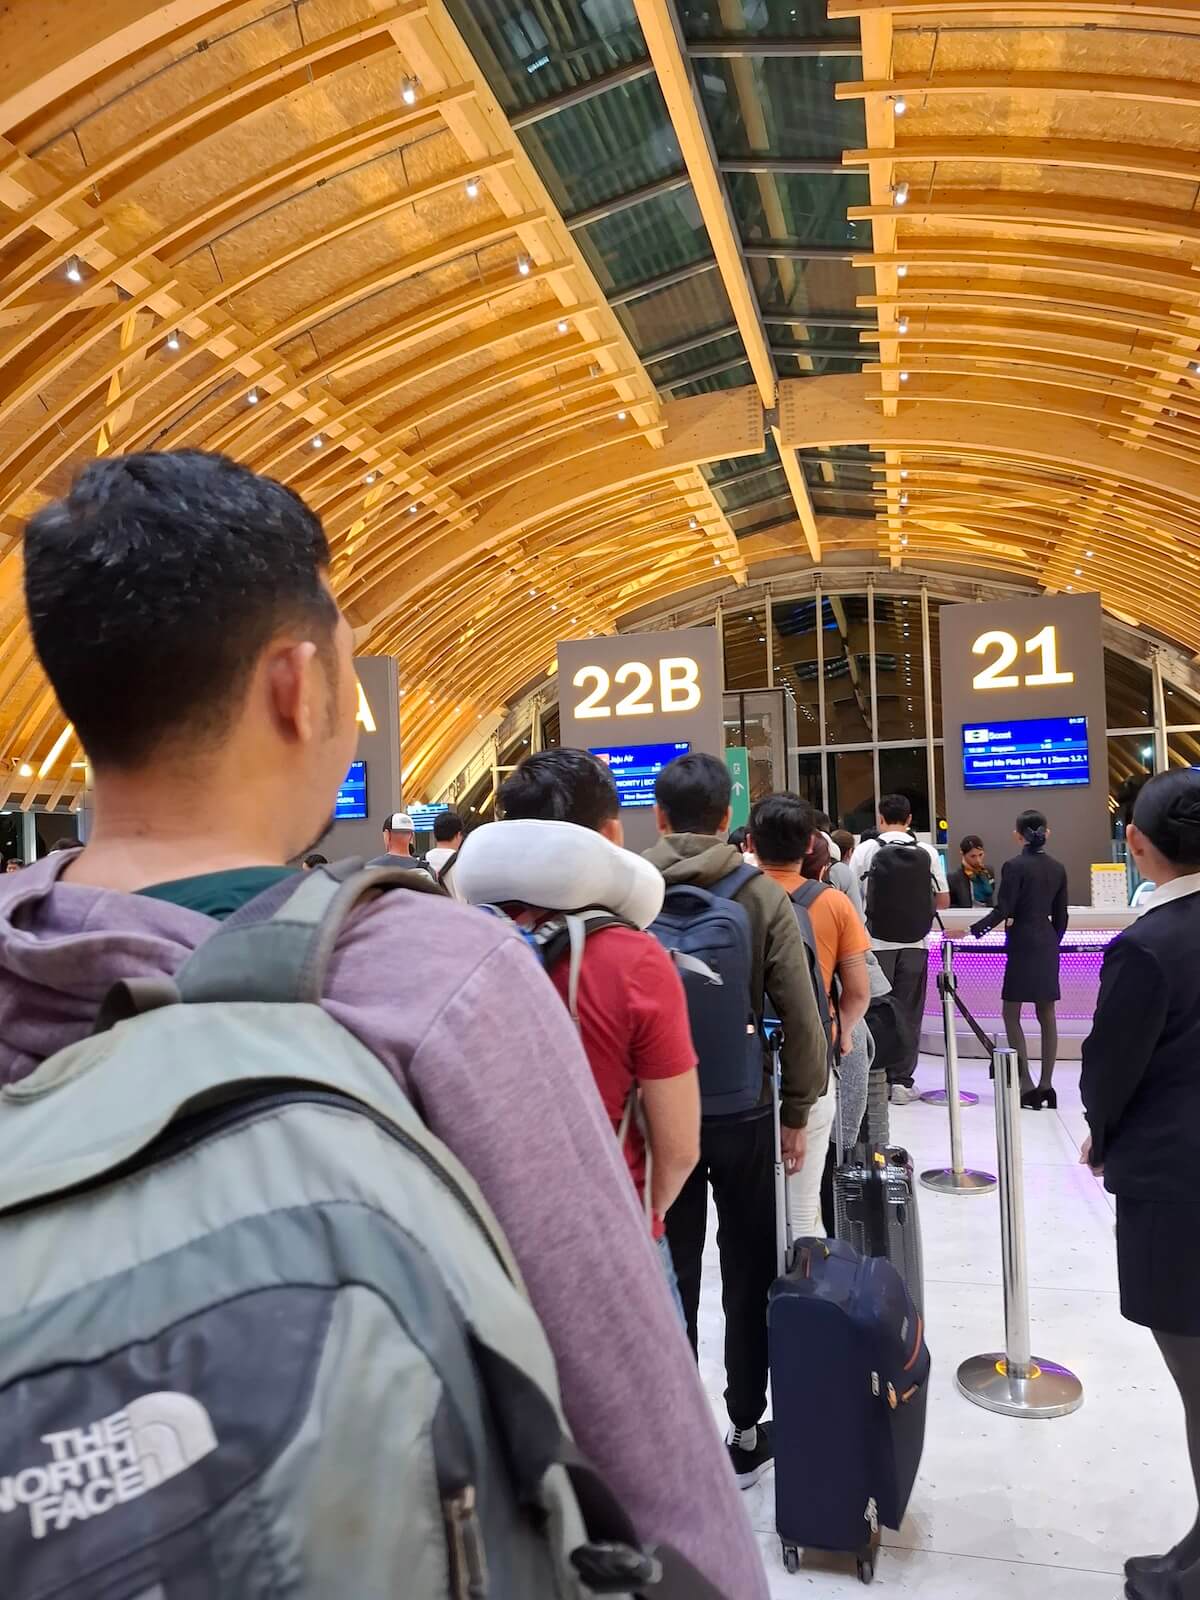
On our New Zealand trip via Mactan-Cebu International Airport, we had to fly to Singapore first before our 10-hour connecting flight to Auckland.
At around 10pm, we lined up at one immigration counter as a group, but were then instructed to spread out since other counters became available. The three of us were interviewed individually.
Our encounter with the Bureau of Immigration Officers in the Philippines
Counter #1
Immigration Officer 1: Male (Young Adult)
Traveler 1: Male; Employed; Frequent Traveler (Last Trip: South Korea)
The first immigration officer (IO) was very strict and asked for additional documents even after showing him our confirmed return flights and New Zealand visitor visa. He asked for a company ID, and since our travel buddy didn’t bring one, he showed his Certificate of Employment (COE) with approved leaves instead.
Upon seeing the digital COE, the officer questioned why the approved leaves didn’t exactly match the date of our return flight to the Philippines. Those tiny details, he managed to pinpoint. If it was any of us, we’d probably panic.
The IO even asked for a professional license and questioned why he didn’t have one along with his job role. He also went on to ask the name of our contact person in New Zealand.
Fortunately, our travel buddy didn’t falter. He just confidently and calmly answered everything that was asked.
Counter #2
Immigration Officer 2: Male (Middle Age)
Traveler 2: Female; Self-Employed; Frequent Traveler (Last Trip: South Korea)
The second IO didn’t require many documents. He just asked who would pay for the trip. And after checking the confirmed flights and NZ group visa, he just said to look at the camera and then stamped the Philippine passport. He didn’t even ask for any proof of funds or employment details. It was such a breeze.
Counter #3
Immigration Officer 3: Female (Middle Age)
Traveler 3: Male; Employed; Frequent Traveler (Last Trip: Australia)
Aside from the confirmed flights and NZ visa, the third immigration officer asked to show proof of employment. Our travel buddy had to take out his laptop to show a digital copy of his Certificate of Employment (COE) since he didn’t print it. The IO took a photo of the COE and said it was for record-keeping.
Meanwhile, the first IO was still not done with the scrutiny. It took longer than the rest of us. But thankfully, the last person standing did pass through eventually.
Tips to avoid being offloaded in Philippine airports
Lucky for us, we never really experienced being offloaded in the Philippines. But we did see a few travelers being held for questioning as we passed through immigration on different occasions. Some, unfortunately, weren’t able to board their flights.
So, to avoid getting offloaded like others, we’re compiling some tips based on our experience. Though these do not guarantee you passing through PH immigration without hiccups, at least you come well prepared.
Tip #1: Secure physical and digital copies of your documents
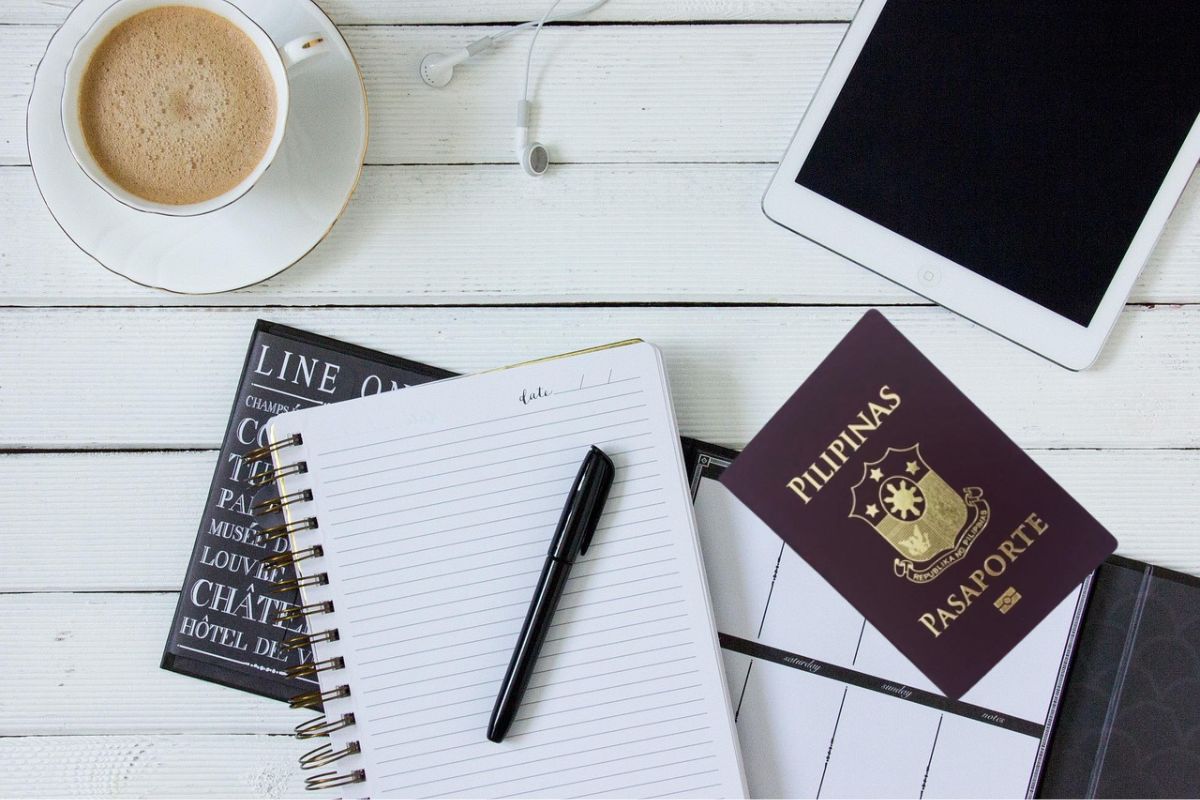
Since we were caught off guard on our last trip, we’re putting this tip as the top one. We didn’t expect that the IOs would ask us to provide documents aside from the usual confirmed flights, accommodation, and visa (if traveling to a visa-required country).
To be sure, secure both physical and digital copies of your documents.
Additional documents you might need to prepare are the following:
1) Proof of Employment
- Company ID
- Certificate of Employment (COE)
- BIR Certificate of Registration (COR) for self-employed
- Business Registration for business owners
- Payslips
2) Proof of Funds
- Cash
- Debit/Credit Cards
- Bank Certificate
- Bank Statements
3) Proof of Tourism Activities
- Booked tours
- Booked admission tickets
- Booked car rentals or private transfers
Although the Bureau of Immigration said that yearbooks, grad photos, and diplomas aren’t requirements for international trips, in some cases, we’ve heard that IOs may ask for these supporting documents:
4) Proof of Education (for students)
- Student ID
- Transcript of Records (TOR)
- Enrolment Slip
- Study Load
5) Proof of Relationship (if you have travel companions)
- Group photos
- Company IDs (if working for the same company)
Tip #2: Keep your documents in one organizer
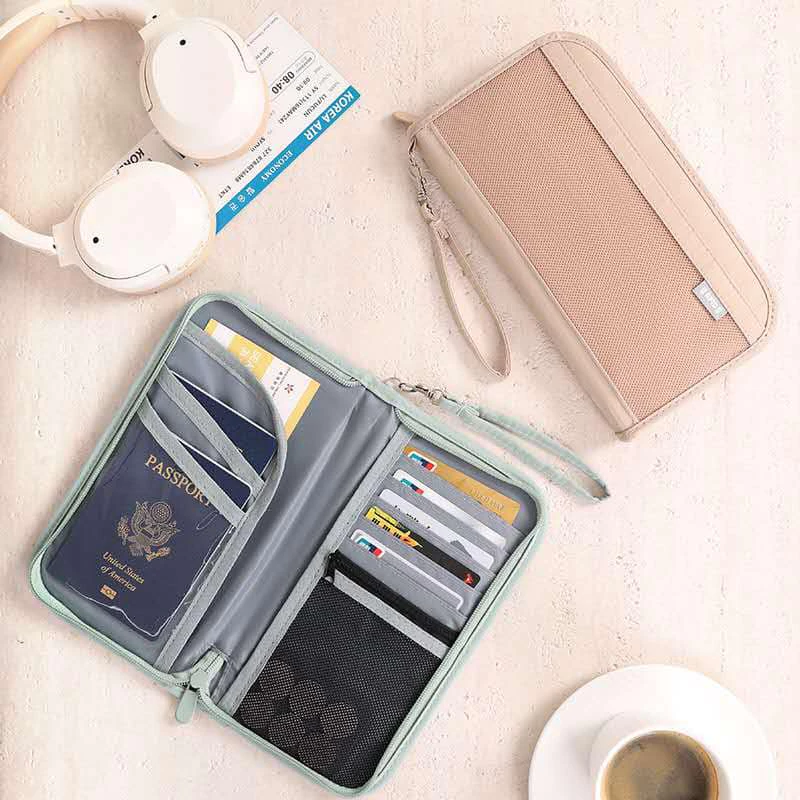
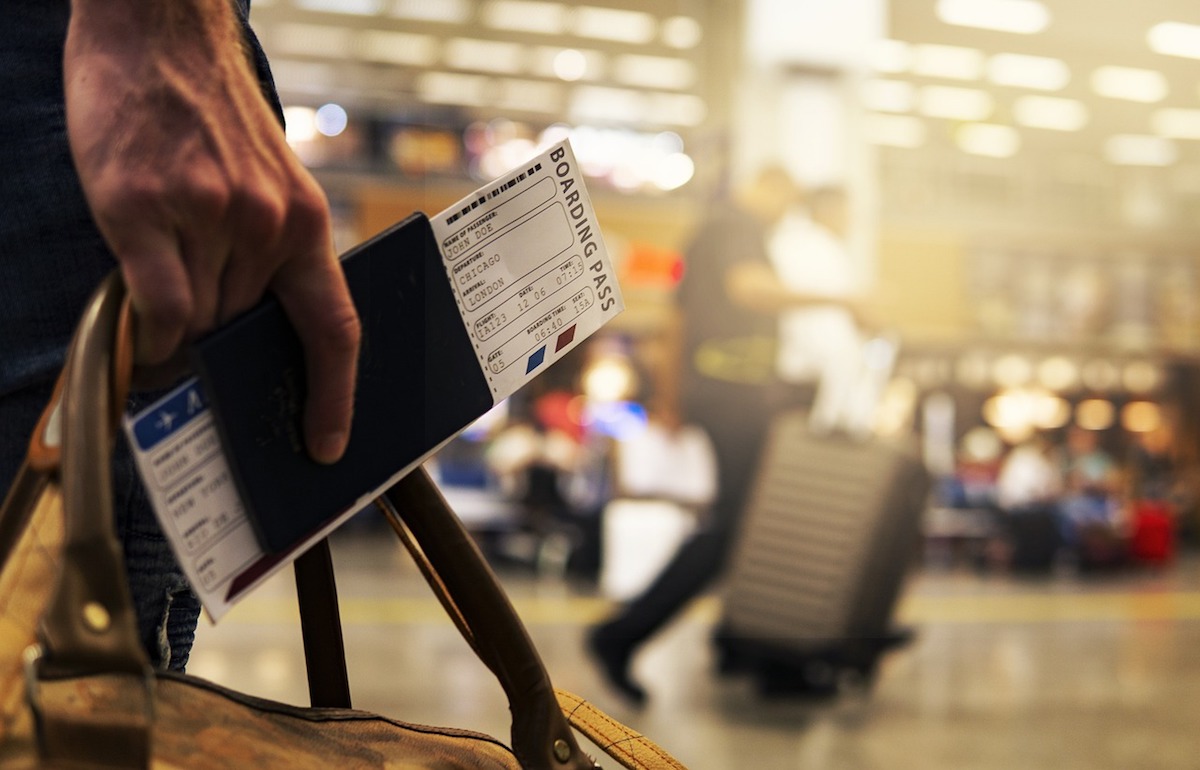
For physical documents including your passport, boarding pass, flight tickets, IDs, and cards, we suggest you keep everything in a secured travel organizer like the one in the photo so you can easily pull them out whenever needed. Plus, it’ll look more casual than bringing an envelope or folder that looks like you’re applying for a job.
For digital documents, create a folder in your phone gallery or files, and label it accordingly so you can immediately show your documents when requested.
Tip #3: Only answer what’s being asked
Yes, you may have all the documents ready to show to the IO, but hold your horses first. Do not overshare or submit documents that weren’t asked. Just prepare them in case they’re required.
Do note that the usual documents are just your passport, boarding pass, return flights, and sometimes your confirmed accommodation. If you are invited by friends or families, prepare to show proof of your inviter’s residence and contact details.
Tip #4: Travel with family or friends if it’s your first time
Nothing against traveling solo, but based on what we’ve observed, solo travelers are questioned more. We did experience it ourselves, too. When we’re traveling solo, we were scrutinized more compared to when we’re traveling with our family or friends.
So, if it’s your first time, we recommend that you travel with someone or a group of people like family and friends. It also lessens the nerves knowing you have other people with you in case something comes up.
Tip #5: Keep calm and don’t panic!
Of course, nothing could prepare you for the actual immigration experience, but you should remind yourself to keep calm. Panicking will only make the IO suspicious of your intention to travel. Relax, you’ll get through it!
Trust us, we’ve been there. We know how it feels to line up, wait for your turn, and be questioned by immigration officers. But the thing is, if you have nothing to hide, why even get scared?
Cheers to all who made it through the grueling immigration in the Philippines!
Let us know your IO experience, too, by connecting with us on our socials: Facebook, Instagram, Twitter, Pinterest, and YouTube.
Excited for your first international trip? Start with these visa-free countries for Filipinos like Taiwan and Singapore, and then to more countries like Japan and South Korea. Follow our tips to increase your chances of visa approval, too!