New Zealand Visitor Visa Guide for Filipinos — How We Got Approved in 5 Steps
Planning to travel to New Zealand soon and would like to apply for a New Zealand visitor visa? Read on!
Aside from the Australia visitor visa, the New Zealand travel visa or visitor visa is one of the most convenient and easiest tourist visa applications we’ve ever had. Everything can be done online — no personal appearance, interview, or even biometrics collection. Plus, there is a group visa option (which we applied for), making it even more practical when traveling with a family or group of friends.
|
Tip: Secure your connectivity in New Zealand with Yesim eSIM. No need to insert a SIM card. Just download the app, install, and select a data plan. Use our promo code: CHILL3 to get an additional €3 (NZ$5.66) discount on your first subscription. |
We made this New Zealand visa application guide to walk you through the whole process. Really, it’s not as daunting as you think.
New Zealand visitor visa application steps for Filipinos
Step 1: Create a RealMe online account
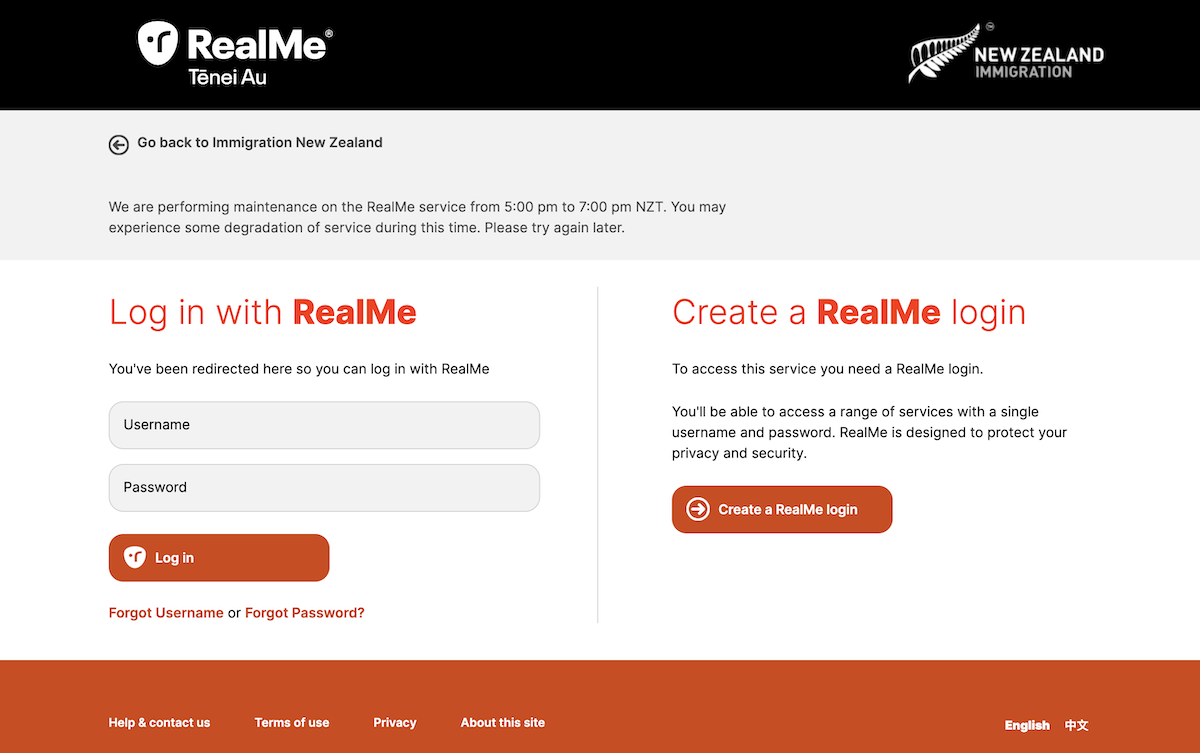
Visit the RealMe portal and proceed to “Create a RealMe login”. Input your email and get the code. Enter it into the Confirmation Code field and click the Confirm Code button.
Then, create your Username and Password. Click “Continue”.
Step 2: Login to start your New Zealand visitor visa application
Once verified, go back to the RealMe online portal to login to your account.
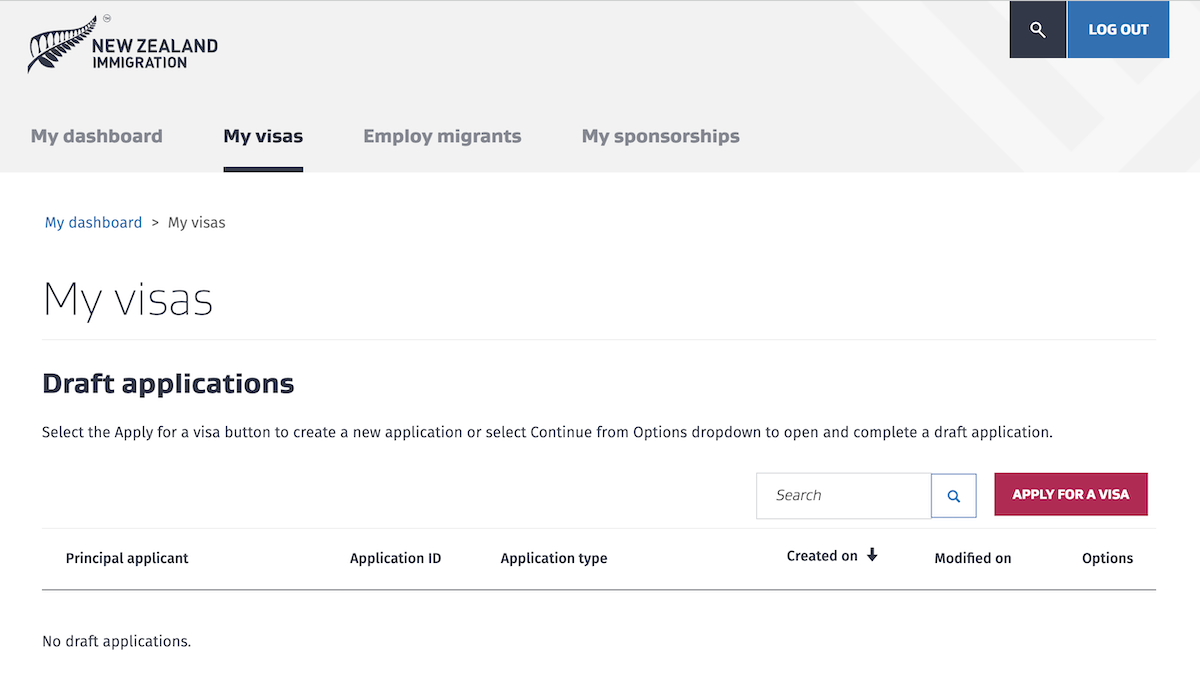
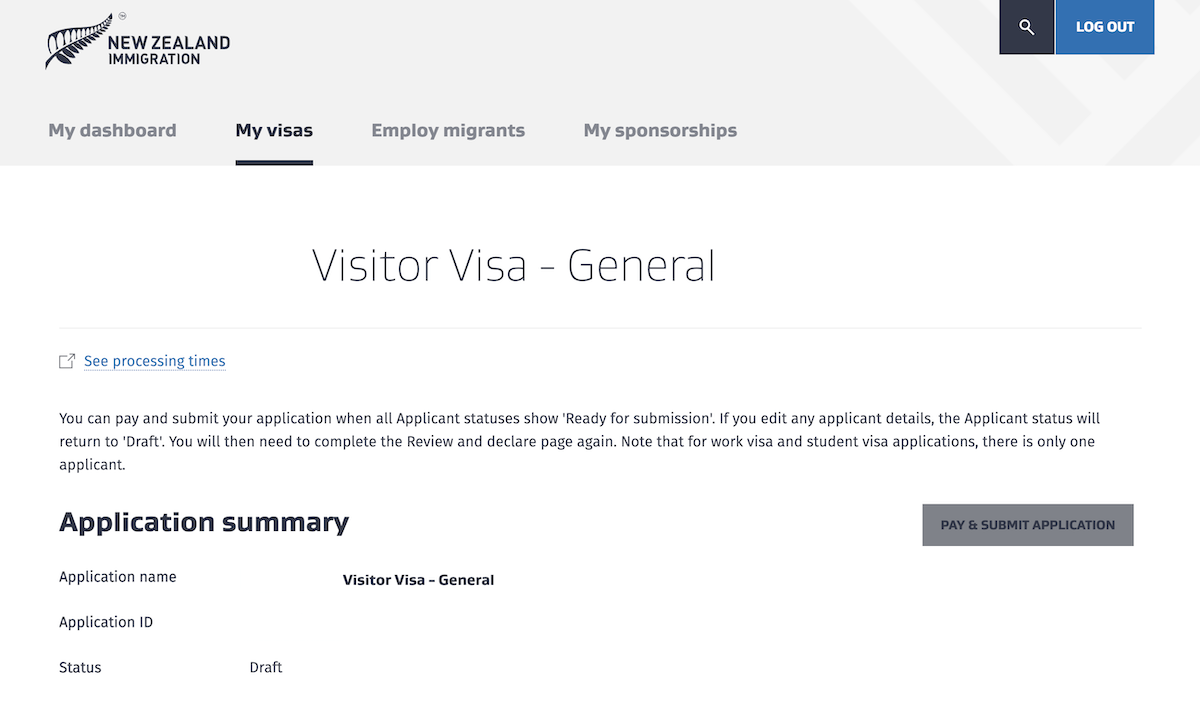
2.1 Login to your account, go to “My visas”, and click the “APPLY FOR A VISA” button.

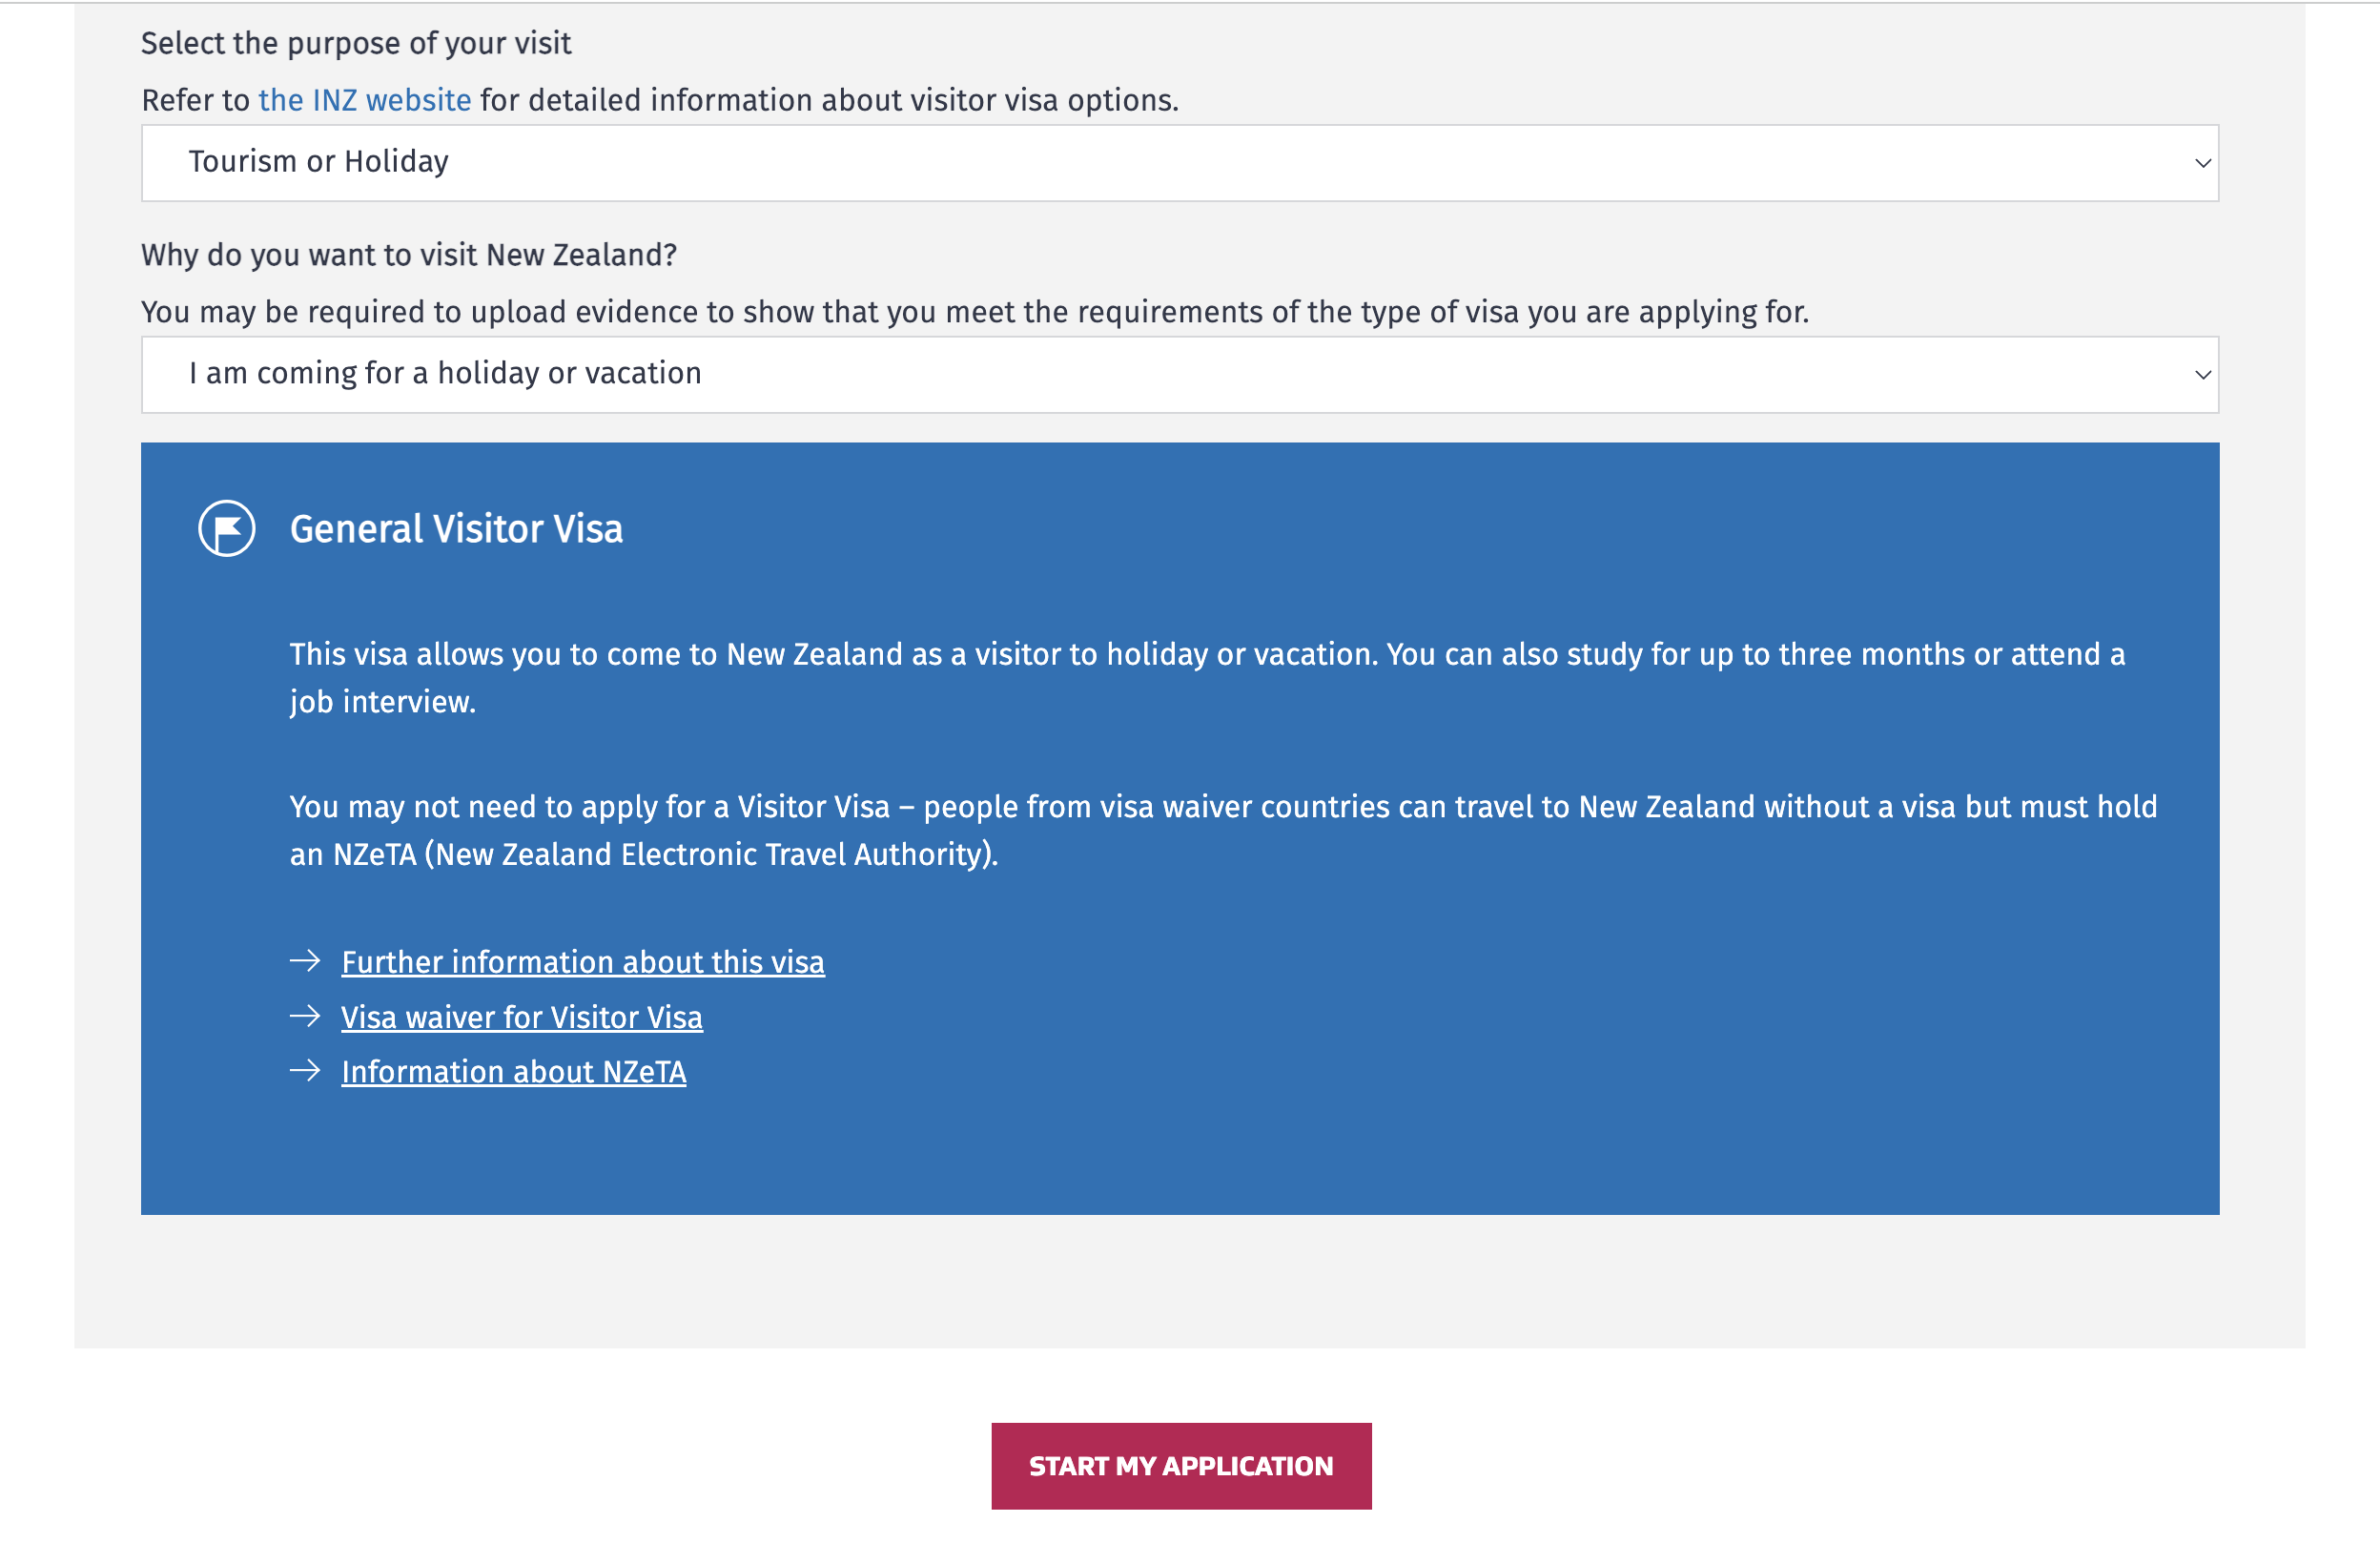
2.2 After you click “START MY APPLICATION”, you will be redirected to the “My visas” tab of your profile.
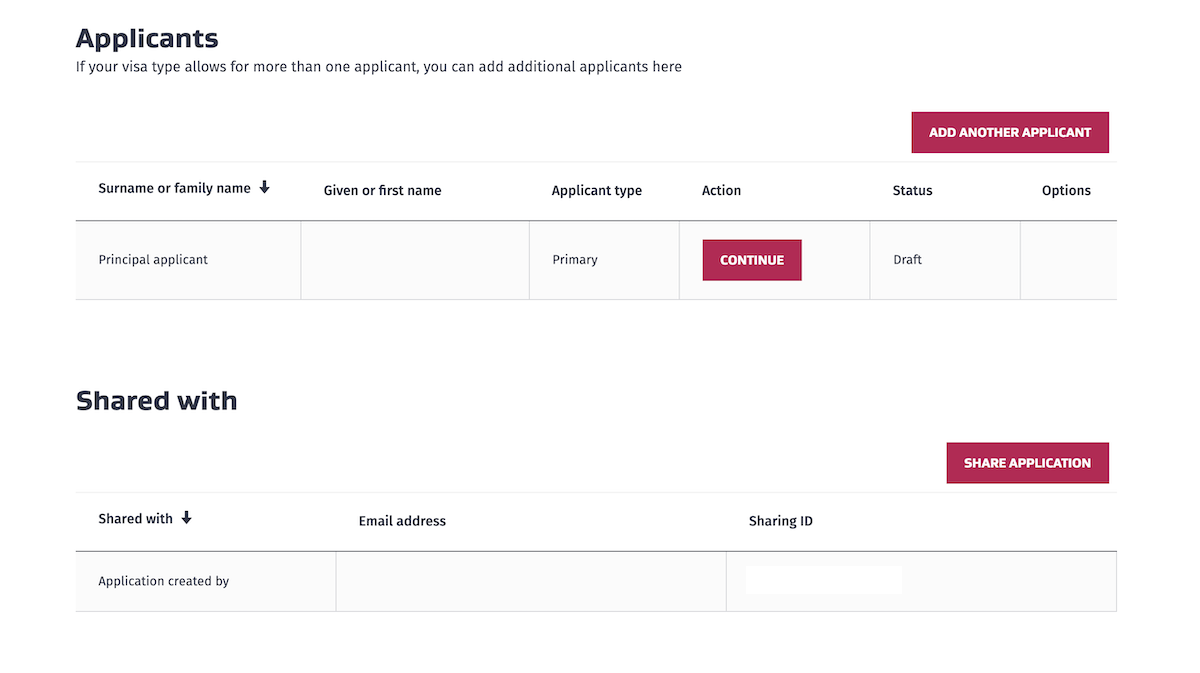
Under the “Applicants” section, “Action” column, click the “CONTINUE” button.
2.3 Fill out the needed information per page.
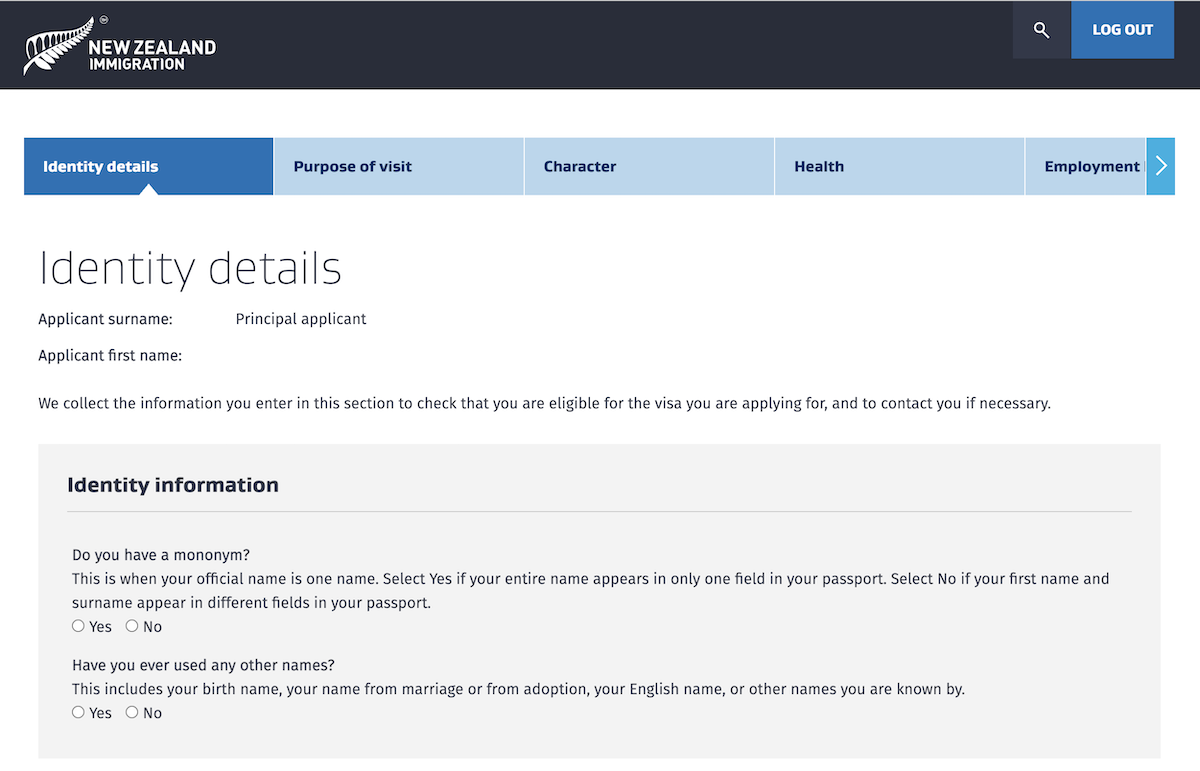
Start answering the needed information for the following sections:
- Identity information
- Purpose of visit
- Character
- Health
- Employment history
- Relationships
- Immigration assistance
- Supporting documents
- Review and declare
No need to finish all pages in one go — you can choose to save and exit, or save and continue to the other sections if you don’t have the information yet. Be sure to go back to them later on.
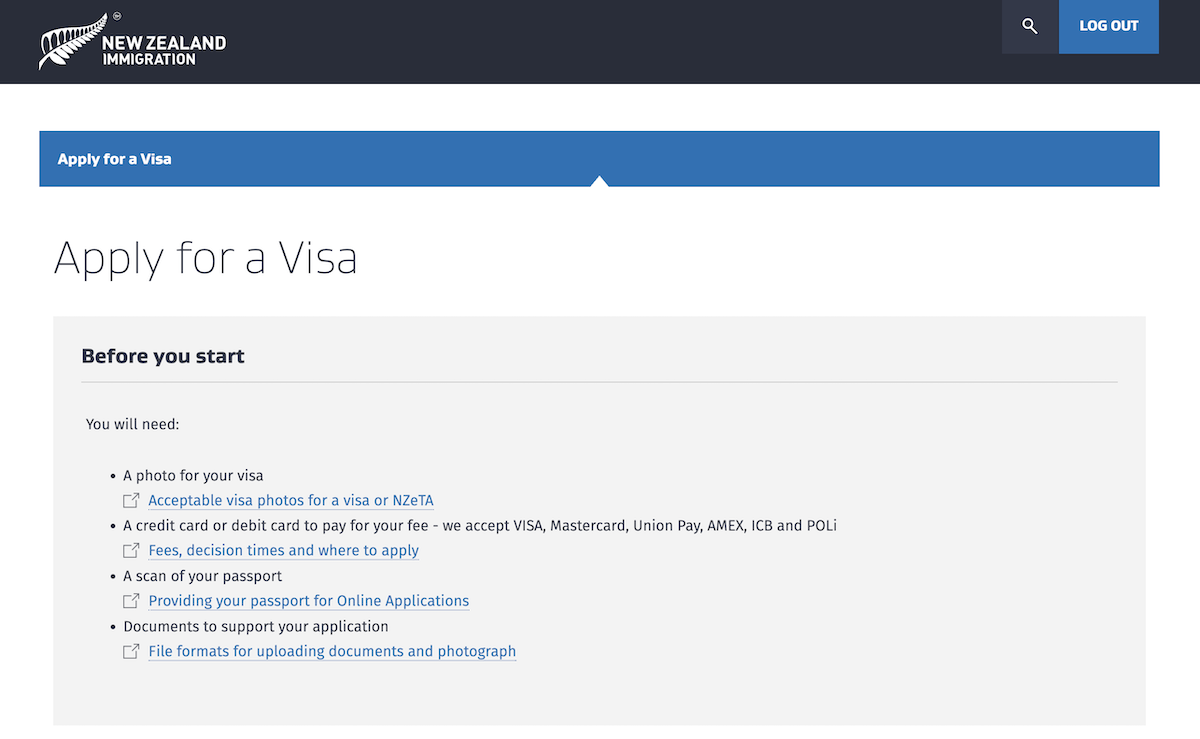
Step 3: Attach your New Zealand visitor visa requirements
Under the “Supporting documents” page, answer all the needed fields and attach your documents in PDF format. This is probably the most tricky part since you need to attach a number of documents in different sections.
Here are the New Zealand tourist visa requirements we prepared and submitted individually:
- Proof of identity:
- Philippine passport (with at least 3 months validity before leaving New Zealand)
- Photo (see NZ photo requirements)
- Proof of sufficient funds: bank certificate, bank statements in the last 6 months (You need to have at least NZ$1,000 per month or NZ$400 per month if you already paid your accommodation)
- Proof of onward travel: credit card statements in lieu of confirmed flights (this is to show proof that we can fund our return flights since we didn’t buy our flight tickets yet)
- Proof of travel history: passport stamps of visited countries, other visas in the past including our AU visa, Korean visa, and Japan visa
- Proof of employment: certificate of employment including approved leaves
- Proof of genuine intentions: cover letter explaining our genuine intentions to travel to New Zealand and return to our home country after our intended stay
Additional documents we attached under our Group Visa application:
- Planned itinerary in New Zealand
- Cover letter explaining our trip details and our genuine intentions to travel as a group
- Invitation letter from our sponsor who shouldered part of our trip (accommodation) in New Zealand
- Sponsor’s Passport
- Sponsor’s Resident Visa
- Sponsor’s Tenancy Agreement
*If you do not have a sponsor, you must show proof of your capacity to personally finance your trip to New Zealand. These include your confirmed hotel bookings, and credit card or bank statements to prove that you can afford to buy a return flight.
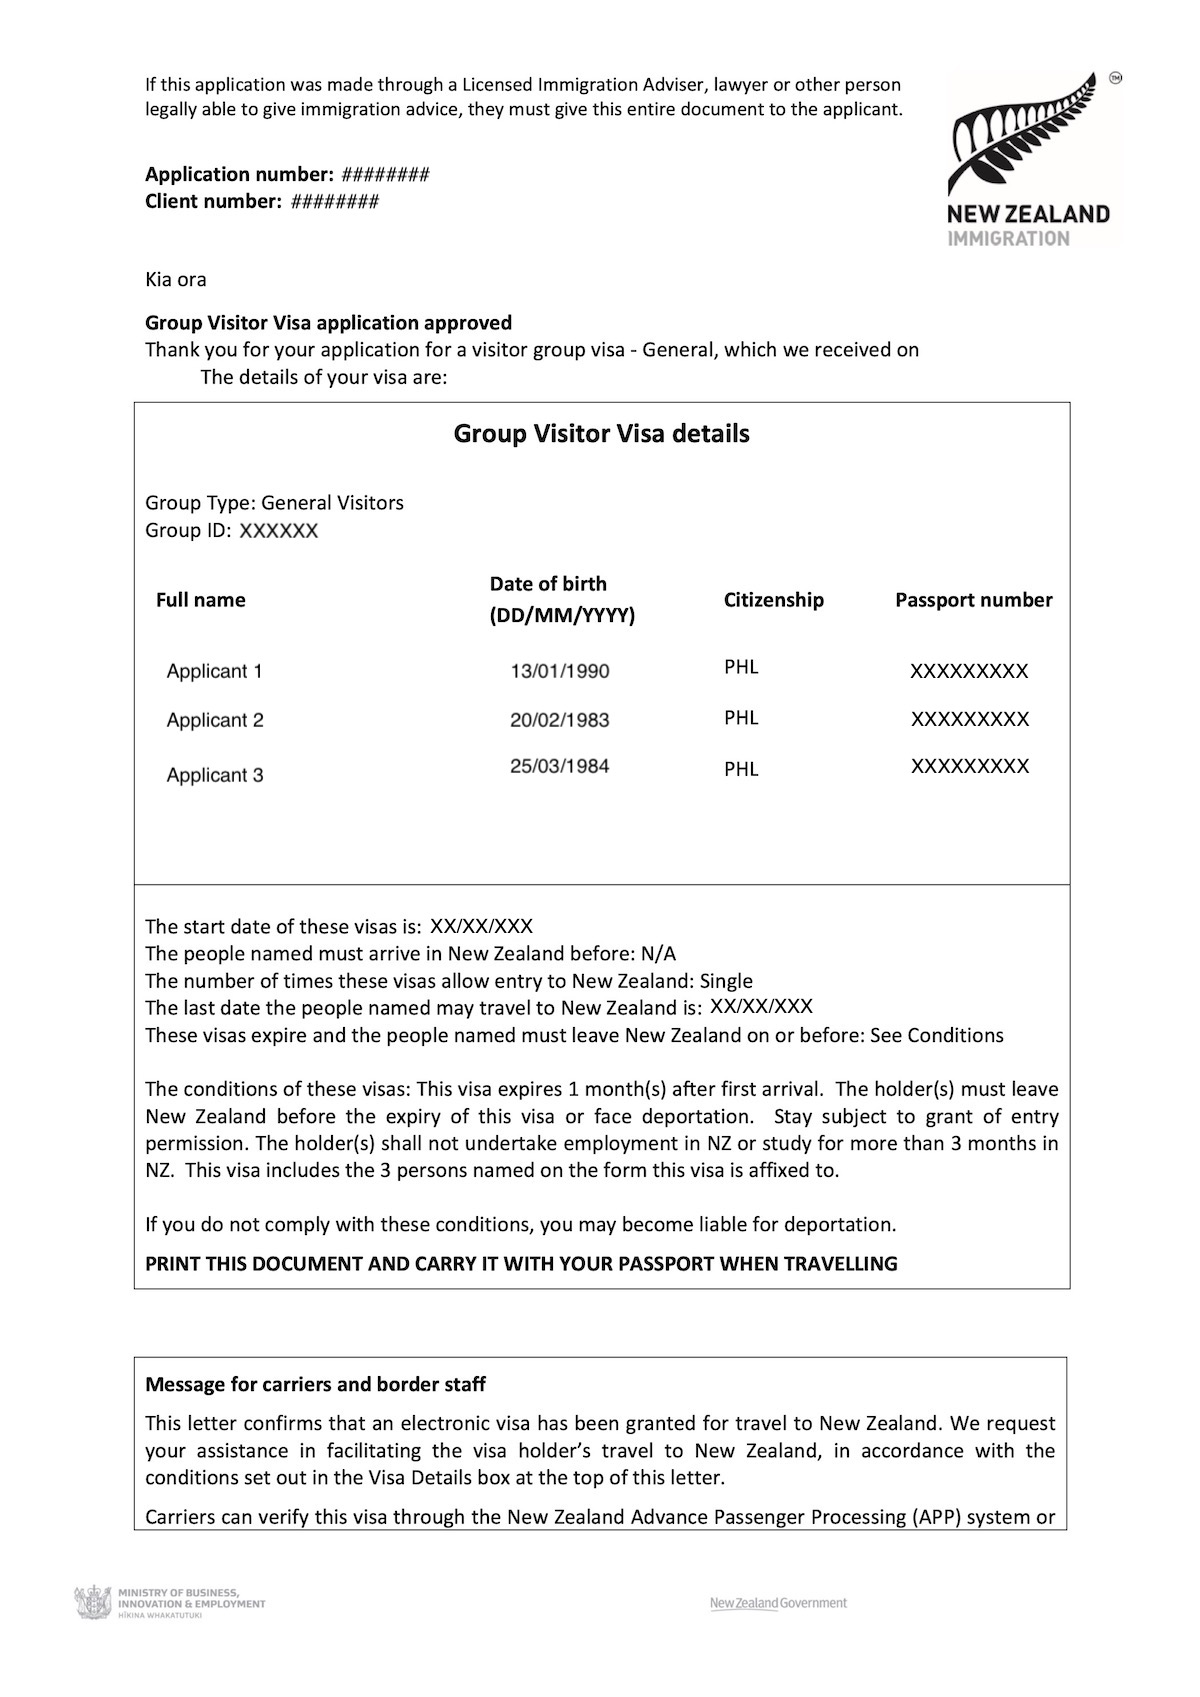
Since we applied for a New Zealand visitor group visa, we had to apply individually first, then synced our applications under a group visa. We had to assign a group leader and a group name. Learn more about the Group Visitor Visa from Immigration New Zealand’s official website.
Step 4: Pay the NZ visitor visa fee
After reviewing everything, it’s time to pay the New Zealand tourist visa fee.
Cost of New Zealand Visitor Visa
- Cost: NZ$441 (₱14,634) inclusive of NZD$100 for International Visitor Conservation and Tourism Levy (IVL)
- Length of stay: 6 to 9 months
- Cost: NZ$271 (₱8,990) inclusive of NZD$100 for International Visitor Conservation and Tourism Levy (IVL)
- Length of stay: Up to 1 month
As for us, we applied for a group visitor visa and paid a total of NZ$300 (₱9,955). We divided it by three, so we only paid NZ$100 (₱3,318) each.
Step 5: Wait for your New Zealand visitor visa
According to Immigration New Zealand, visitor visa processing time could take up to two (2) weeks.
For reference, we got our New Zealand group visitor visa after four (4) weeks since we applied during a major holiday season. We applied in the last week of December and got our approved group visa in the last week of January.
New Zealand Visitor Visa tips

We’re sharing some tips to increase your chances of NZ travel visa approval.
Tip #1: Submit official or certified true copies of documents
Since everything is done online, you need to make sure that all your documents are official. If you cannot secure the official copies, you can have them certified as true copies before scanning and uploading them to the portal.
Tip #2: Attach supporting documents
Aside from the required documents, you can attach more supporting documents to prove your strong economic ties to your home country. These include credit card statements as well as proof of properties and assets owned.
Tip #3: Follow the official format for documents
Immigration New Zealand is strict in their format – documents must be uploaded in PDF format. Read this format guide for documents and photos and the technical requirements for photos.
Tip #4: Write a cover letter
Make sure to compose a convincing and professional cover letter to show your intent to travel to New Zealand and return home after your trip. While you can take advantage of ChatGPT or AI to write it for you, be sure to add a personal touch explaining your situation. This is especially important if you lack certain documents and you need to elaborate on your circumstances.
Tip #5: Apply for a group visa if you have two or more travel companions
It is more advantageous if you apply for a New Zealand group visitor visa when traveling as a group. You can save more since you can split the NZ visa fee among the group members. And, it’ll give you more confidence of visa approval since your application will be treated as one. Read more about the NZ Group Visitor Visa.
Hope you find this New Zealand visitor visa guide for Filipinos useful. All the best in your visa application. Kia kaha!
Disclaimer: While we were granted a single-entry New Zealand group visitor visa, we don’t claim to be visa experts here. We recommend that you refer to Immigration New Zealand for more information.